
Introduction to Bigwood Bread
Bread has been a staple food for thousands of years, symbolizing sustenance, community, and craftsmanship. Among the many varieties of bread, Bigwood Bread stands out for its hearty crust, chewy crumb, and rich flavor. Originating from traditional baking techniques, Bigwood Bread is a beloved artisanal loaf that can be made at home with patience and attention to detail. In this comprehensive guide, we’ll walk you through each step of creating delicious Bigwood Bread from scratch, ensuring you achieve bakery-quality results in your own kitchen.
Understanding Bigwood Bread
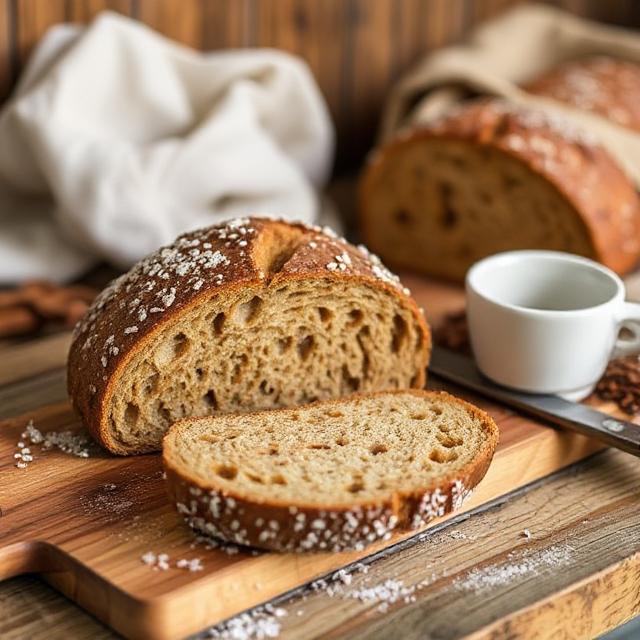
Before diving into the baking process, it’s important to understand what makes Bigwood Bread unique. Typically, Bigwood Bread is characterized by:
- A thick, crunchy crust: Resulting from proper steam and baking temperature.
- A chewy, open crumb: Achieved through proper fermentation and kneading.
- Rich, complex flavor: Developed via long fermentation, often with natural leavening.
While recipes can vary, the core principles remain consistent: high-quality ingredients, proper fermentation, and precise baking techniques.
Ingredients Needed
To make authentic Bigwood Bread, gather the following ingredients:
- 500g (about 4 cups) bread flour: Preferably unbleached, high-protein flour.
- 350ml (1 1/2 cups) water: Lukewarm, around 75–80°F (24–27°C).
- 100g (about 1/2 cup) sourdough starter or active yeast: Sourdough preferred for flavor.
- 10g (2 teaspoons) salt
- Optional: A tablespoon of honey or malt syrup for added sweetness
- Cornmeal or rice flour: For dusting the proofing basket
Step-by-Step Guide to Making Bigwood Bread
1. Preparing the Dough
a. Mix the Ingredients
In a large mixing bowl, combine the flour and salt. If using sourdough starter, mix it with the water until well incorporated. Pour the water and starter mixture into the dry ingredients, mixing with a spoon or dough whisk until a shaggy dough forms.
b. Autolyse
Let the dough rest for 30–45 minutes. This process, known as autolyse, helps hydrate the flour and develop gluten, resulting in better dough extensibility.
2. Bulk Fermentation and Stretch & Folds
a. First Fermentation
After autolyse, knead the dough gently for a few minutes to combine. Cover the bowl with a damp cloth or plastic wrap and let it rest at room temperature (around 75°F) for 4–5 hours.
b. Incorporate Stretch & Folds
During bulk fermentation, perform a series of stretch and folds every 30 minutes for the first 2 hours. To do this:
- Reach under the dough, stretch it upward, and fold it over the rest.
- Rotate the bowl and repeat 3–4 times per session.
- This strengthens gluten and enhances dough structure.
Allow the dough to ferment undisturbed afterward until it has roughly doubled in size and shows bubbles on the surface.
3. Shaping the Loaf
a. Pre-shape
Turn the dough onto a lightly floured surface. Gently shape it into a round or oval shape, cover with a towel, and let it rest for 20–30 minutes.
b. Final Shaping
Reshape the dough into your desired loaf shape, tightening the surface by gently pulling the dough taut. Place it into a floured proofing basket or banneton, seam side up.
4. Proofing
a. Cold or Room Temperature Proofing
For flavor development, a long, slow proof in the refrigerator (preferably overnight) is ideal. Cover the basket with plastic or a towel to prevent drying.
b. Final Proof
Remove the dough from the fridge and let it come to room temperature for about 1 hour before baking. The dough should feel puffy and slightly spring back when gently pressed.
5. Baking the Bigwood Bread
a. Preheat Your Oven
Preheat your oven to 500°F (260°C) with a Dutch oven or heavy oven-safe pot inside for at least 30 minutes. The high heat creates steam, essential for a crusty exterior.
b. Scoring the Loaf
Carefully remove the hot Dutch oven. Gently turn the proofed dough onto parchment paper. Using a sharp knife or lame, score the surface to allow controlled expansion during baking.
c. Baking
Transfer the dough (with parchment) into the Dutch oven. Cover with the lid and bake for 20 minutes. Then, remove the lid and reduce the oven temperature to 450°F (230°C). Continue baking for another 20–25 minutes until the crust is deep golden brown and the loaf sounds hollow when tapped.
d. Cooling
Remove the bread from the oven and transfer it to a wire rack. Let it cool completely for at least 1–2 hours before slicing. This allows the crumb to set properly.
Tips for Success
- Use a sourdough starter or active yeast: Sourdough imparts a complex flavor and better texture.
- Maintain proper fermentation times: Longer fermentation enhances flavor and gluten development.
- Utilize steam during baking: Using a Dutch oven or adding water to the oven creates steam, resulting in a crisp crust.
- Be patient: Good bread requires time and attention; rushing can lead to dense loaves.
- Practice makes perfect: Don’t be discouraged if your first attempt isn’t perfect. Each bake improves your skills.
Variations and Enhancements
Once comfortable with the basic recipe, experiment with:
- Adding seeds or nuts: Incorporate sunflower seeds, walnuts, or flaxseeds for added texture.
- Herbs and spices: Add rosemary, thyme, or garlic for flavor.
- Whole grains: Substitute some bread flour with whole wheat, rye, or spelt flour for nutritional variety.
Conclusion
Creating delicious Bigwood Bread from scratch is a rewarding process that combines science, artistry, and patience. By understanding the fundamental techniques—proper fermentation, careful shaping, and baking at high heat—you can craft a loaf that rivals bakery-quality bread. With consistent practice, you’ll develop an intuition for the dough and enjoy the rich flavors and satisfying textures of your homemade Bigwood Bread. Happy baking!