
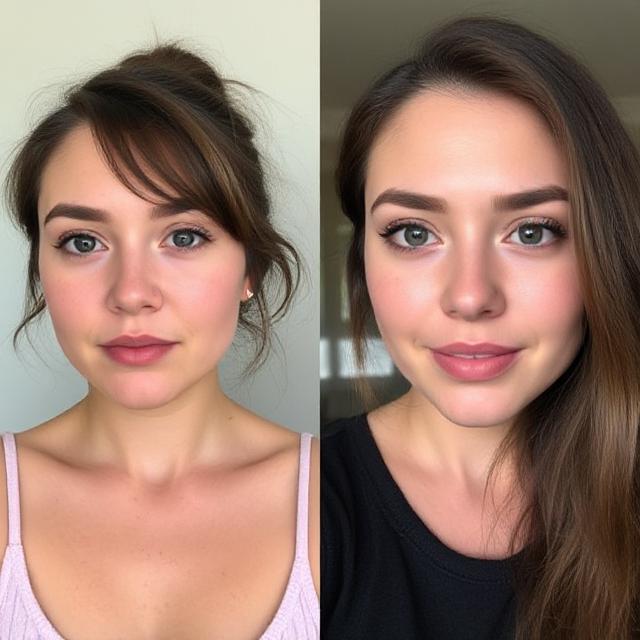
Introduction to MTF Before After
Transforming from male to female (MTF) is a deeply personal journey that involves various stages—medical, social, and aesthetic—to align one’s outward appearance with their gender identity. Creating compelling MTF Before After images or documentation can be a meaningful way to celebrate progress, share experiences, or simply understand the transformation process. This article provides a comprehensive guide on how to create effective MTF before-and-after visuals, along with important considerations for authenticity, privacy, and respect.
Understanding the Purpose of MTF Before After Documentation
Before diving into the “how-to,” it’s essential to clarify why you want to create MTF Before After images:
- Personal Milestone: Tracking your journey to celebrate achievements.
- Community Sharing: Inspiring others on similar paths.
- Medical or Aesthetic Consultation: Showing progress to healthcare providers.
- Educational Content: Informing others about the transformation process.
Knowing your purpose helps determine the scope, style, and level of detail needed for your documentation.
Step 1: Planning Your Photos
1. Decide on the Scope and Style
- Full-Body vs. Close-Up: Decide if you want to showcase your entire transformation or focus on specific features like face, chest, or hair.
- Consistent Poses: Maintain similar poses, expressions, and angles for both images to highlight genuine changes.
- Lighting and Background: Use consistent lighting and neutral backgrounds to ensure clear comparison.
2. Choose Appropriate Clothing and Accessories
- Clothing: Wear similar clothing in both photos—ideally neutral or plain—to avoid distractions.
- Hairstyle and Makeup: For the after photo, styling your hair and applying makeup can enhance the visual impact. Keep the styling consistent for comparison.
3. Select a Suitable Location
- Use the same location with similar lighting conditions to maintain consistency. Natural light or a well-lit room works best.
Step 2: Taking the Photos
1. Camera Settings
- Use a high-quality camera or smartphone with good resolution.
- Keep the camera at the same height and distance for both shots.
- Use a tripod if available for stability and consistency.
2. Posing and Expression
- Adopt the same pose for both images.
- Maintain a neutral facial expression or a slight smile for authenticity.
- Keep your body language relaxed and natural.
3. Timing
- Take the “before” photo MTF Before After any significant changes.
- Capture the “after” photo after completing specific milestones, whether medical treatments, weight loss, or aesthetic procedures.
Step 3: Editing and Enhancing
1. Basic Editing
- Use photo editing tools to crop, adjust brightness, contrast, and color balance.
- Avoid over-editing—aim for a natural look to accurately reflect your transformation.
2. Consistency
- Apply similar edits to both photos to ensure a fair comparison.
- Avoid manipulating images in a way that misrepresents your progress.
3. Privacy and Anonymity
- If sharing publicly, consider blurring or cropping sensitive areas.
- Use pseudonyms or avoid revealing identifiable details if privacy is a concern.
Step 4: Presenting the MTF Before After
1. Side-by-Side Comparison
- Place images next to each other horizontally or vertically.
- Use borders or spaces to clearly delineate the two images.
2. Add Labels
- Include “MTF Before After” labels for clarity.
- Optionally, add dates or milestones to contextualize the progress.
3. Use Collage or Slideshow
- Combine multiple images showing different aspects of your transformation.
- Create a slideshow or video for a dynamic presentation.
Step 5: Ethical Considerations and Respect
1. Consent and Privacy
- If sharing someone else’s images, ensure you have their consent.
- Respect privacy boundaries—avoid sharing images that could identify someone without permission.
2. Authenticity
- Be honest about your journey. Genuine progress often inspires and educates others.
3. Cultural Sensitivity
- Be mindful of cultural contexts and individual sensitivities related to gender and appearance.
Additional Tips for a Successful MTF Transformation Documentation
- Consistency is Key: Maintaining similar poses, lighting, and clothing enhances the comparability.
- Showcase Progression: Consider documenting multiple stages for a comprehensive view.
- Use Quality Equipment: Better cameras and lighting improve image clarity.
- Seek Feedback: Trusted friends or online communities can provide constructive input.
- Celebrate Your Journey: Remember, transformation is a personal achievement—share your story with pride and respect.
Conclusion
Creating compelling MTF Before After images for an MTF transition involves careful planning, consistent photography, respectful editing, and thoughtful presentation. While documenting your journey can be empowering and inspiring, always prioritize authenticity, privacy, and safety. Whether for personal reflection, community sharing, or professional consultation, well-executed MTF Before After visuals can beautifully encapsulate the incredible changes and growth experienced along the transition path.
Remember: Your journey is unique. Celebrate every step, and share your story with kindness and confidence.